This post contains affiliate links. As an Amazon Associate we earn from qualifying purchases, at no extra cost to you. Read our disclosure.
Safety first: Prices are examples with an as-of date. Always confirm with your own vendors. Please read our editorial guidelines before you start.
Key takeaways
- Ten tabs cover a whole wedding: checklist, budget, vendors, guests, timeline, inspiration, decor, ceremony and reception, day-of and a pocket for everything else.
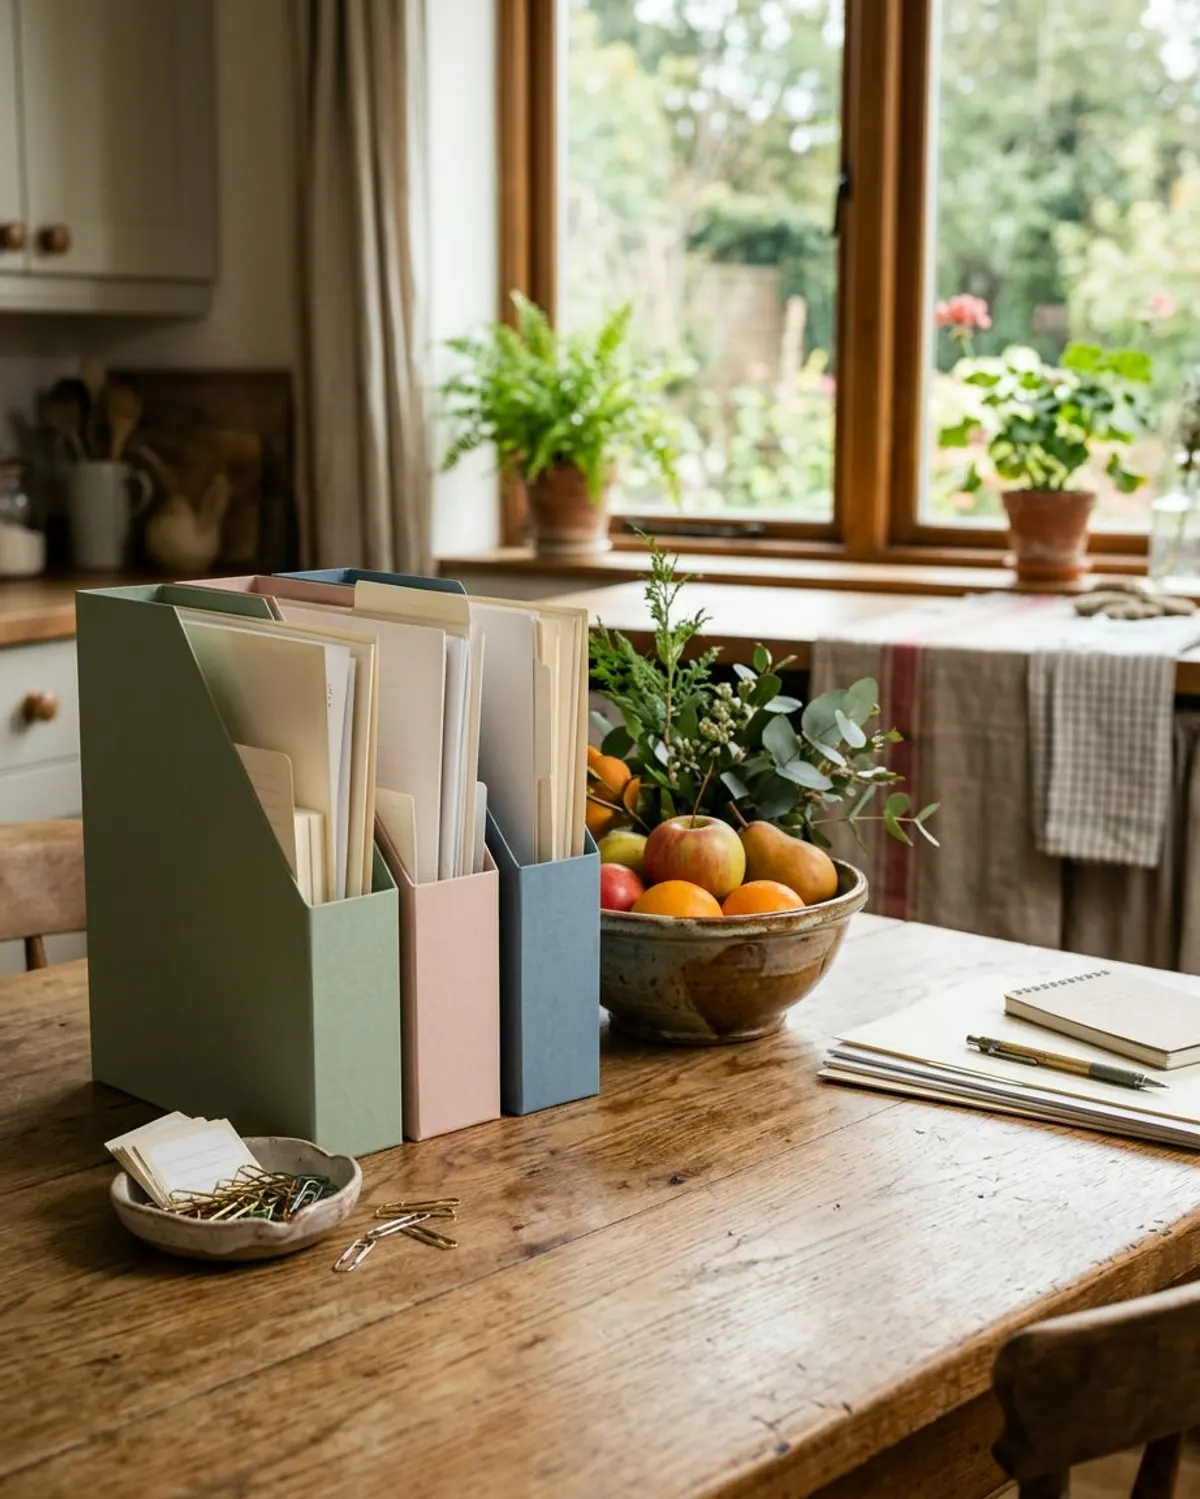
- Buy a 1.5 to 2 inch three-ring binder, 10 to 12 tab dividers, sheet protectors and two or three pocket folders. Nothing else is required.
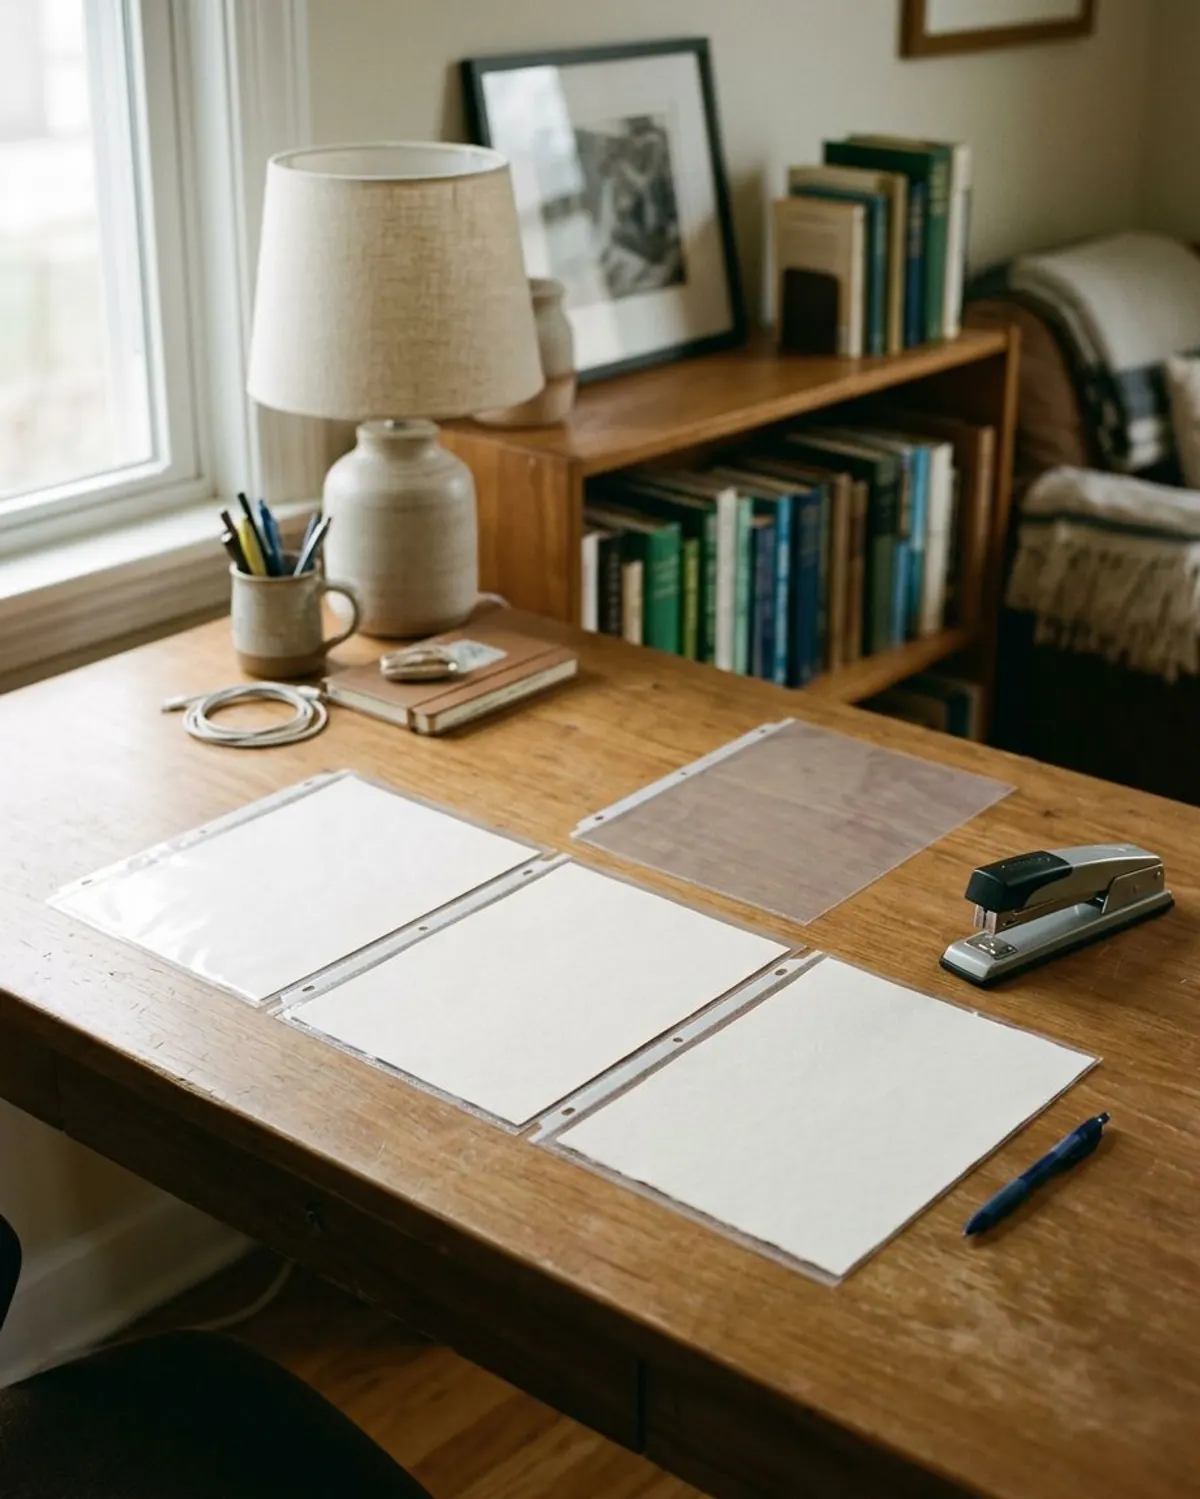
- Put signed contracts in sheet protectors, in vendor order, so you can read them without taking them out.
- Keep a digital copy of every contract and receipt too. The binder is for the weeks you are away from a screen.
- Do the setup in one weekend, then spend ten minutes a week keeping it current.
In this post16 sections
- DIY Wedding Planner Binder: What It Is and Why Bother
- What to Buy
- Section 1: Master Checklist
- Section 2: Budget and Payments
- Section 3: Vendors and Contracts
- Section 4: Guest List and RSVPs
- Section 5: Timeline
- Section 6: Inspiration and Style
- Section 7: Decor and Rentals
- Section 8: Ceremony and Reception
- Section 9: Day-Of Details
- Section 10: Pocket for Everything Else
- How to Set It Up in One Weekend
- Five Binder Mistakes to Avoid
- Free Printable vs a Ready-Made Planner
- FAQ
DIY Wedding Planner Binder: What It Is and Why Bother
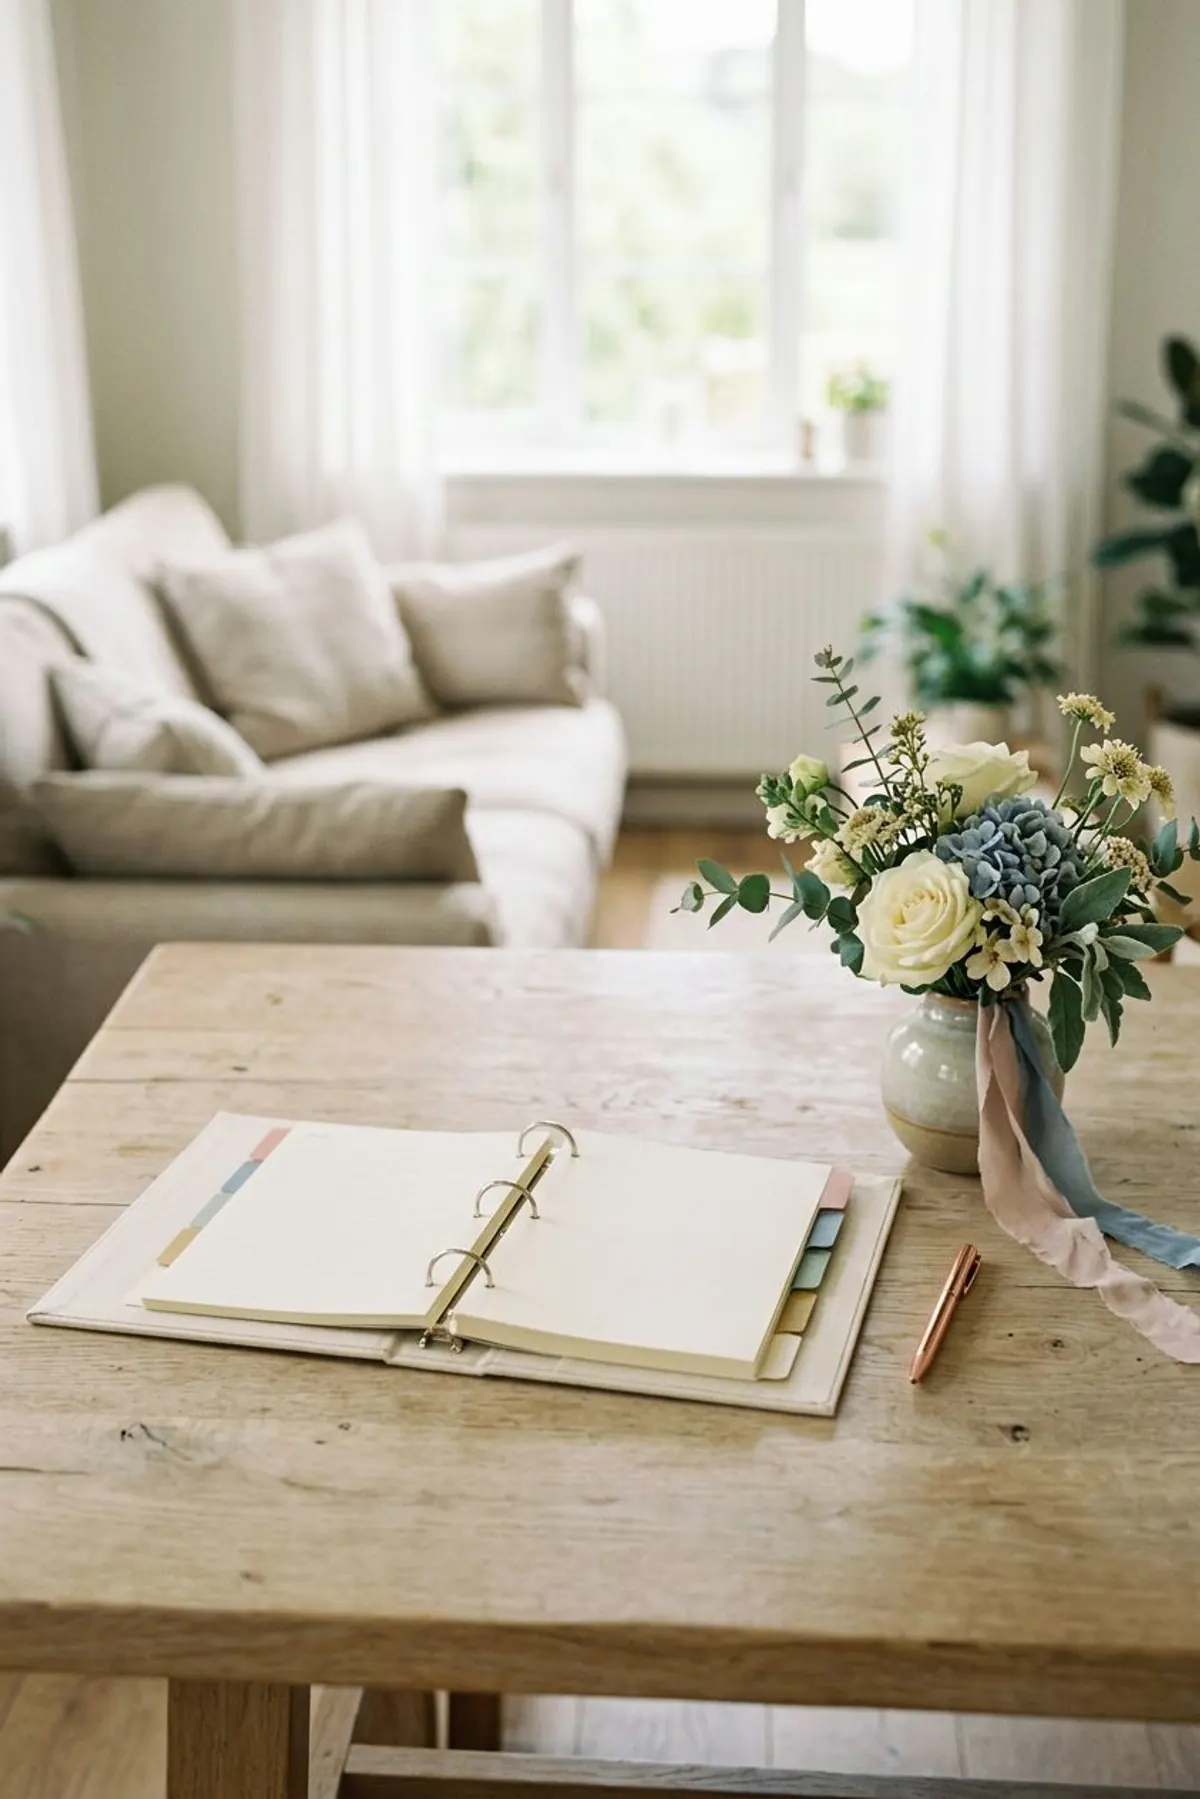
A wedding generates paper: quotes, contracts, payment receipts, floor plans, seating charts and dozens of small decisions. A DIY wedding planner binder puts all of it behind labeled tabs, so you can answer a vendor's question on the phone without hunting through email.
It is also the thing you hand to a parent, a planner or a trusted friend who is helping on the day. If you only have a few minutes, keep reading for the 10 sections, then skip to the shopping list.
What to Buy
Binder supplies (search links, prices vary)
-
Three-ring binder, 1.5 to 2 inch, D-ring
Under $15
D-rings let pages lie flat and hold more than round rings
Check price on Amazon for Three-ring binder, 1.5 to 2 inch, D-ring -
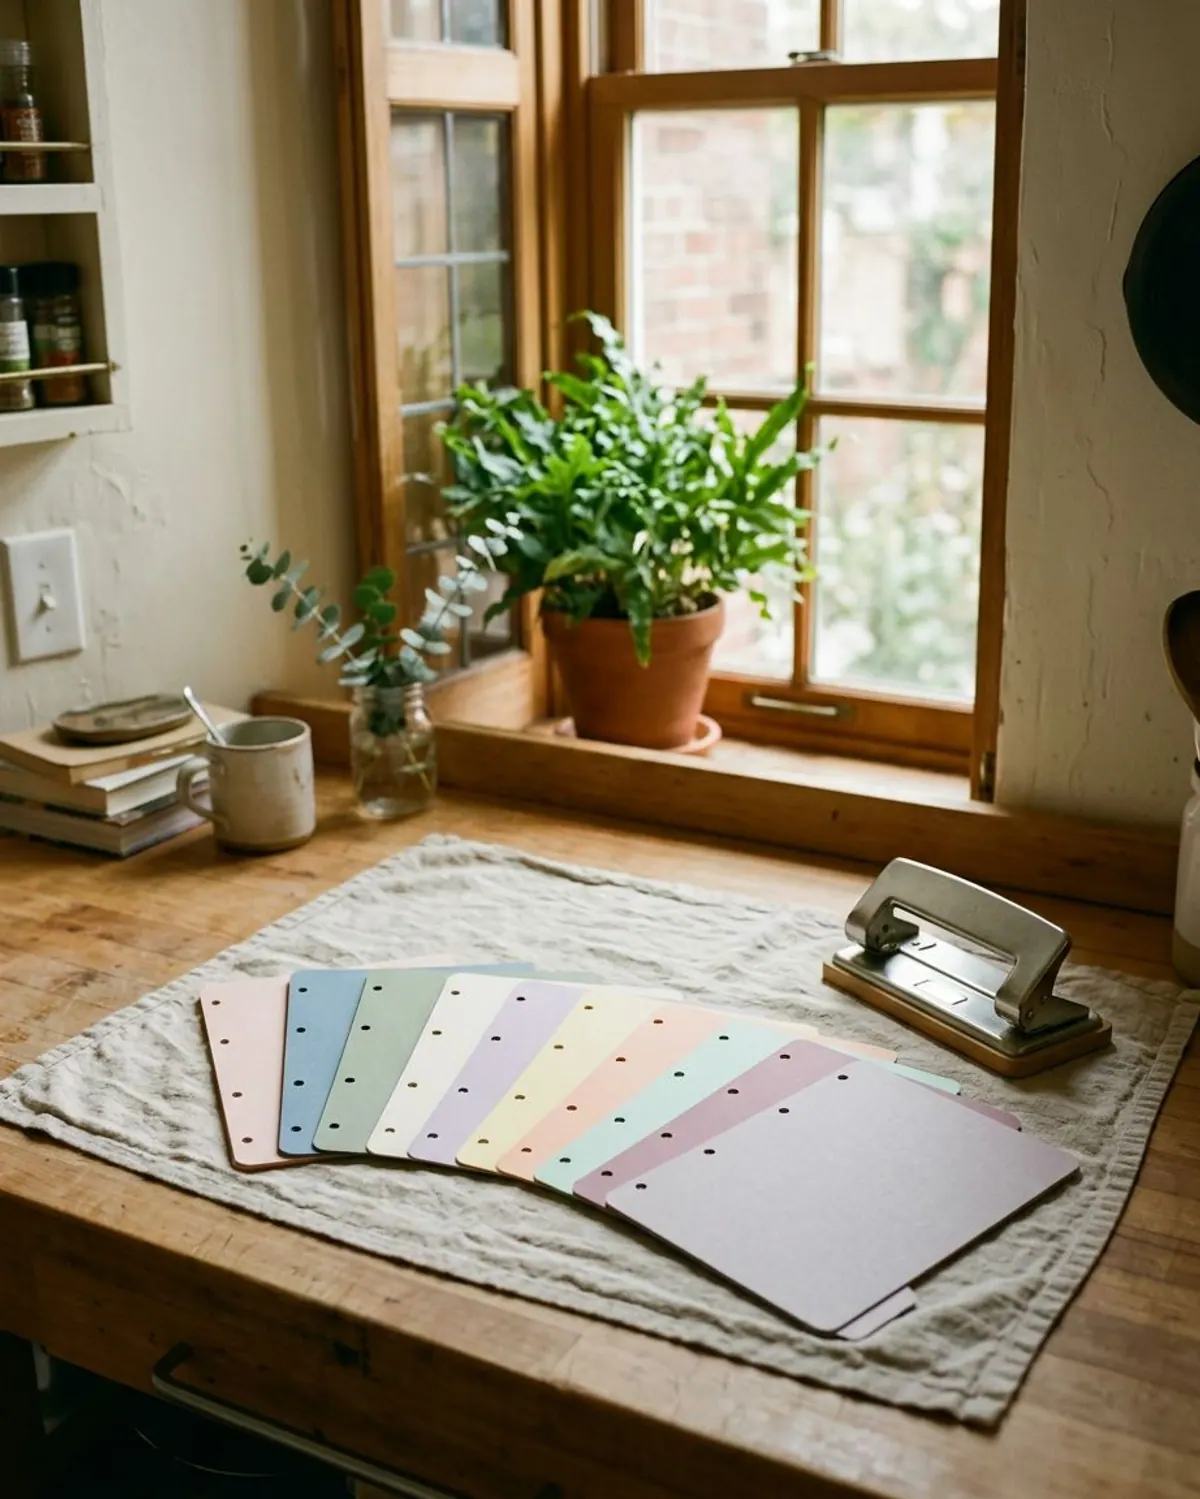
Tab dividers, 12 or more with write-on labels
Under $10
One tab per section plus two spares
Check price on Amazon for Tab dividers, 12 or more with write-on labels -
Clear sheet protectors, 50 pack
Under $10
Keep signed contracts clean and readable
Check price on Amazon for Clear sheet protectors, 50 pack -
Pocket folders with holes, 3 pack
Under $10
For receipts, swatches and loose papers
Check price on Amazon for Pocket folders with holes, 3 pack -
Zip pouch with binder holes
Under $10
For day-of items like pens and vendor cash
Check price on Amazon for Zip pouch with binder holes
Some of these links are Amazon affiliate links, and we earn a small commission if you buy, at no extra cost to you.

Section 1: Master Checklist
The first tab is the one you will open the most. Put a dated checklist here with the next three months highlighted. Print our wedding planning checklist by category, or use the 12-month version in this checklist if your date is close.
Section 2: Budget and Payments
Print your budget with three columns: estimated, actual and paid. Add a payment schedule listing every deposit and final balance with its due date. The wedding budget checklist has the line items to copy.
Behind the budget, keep every receipt in a pocket folder, newest on top.

Section 3: Vendors and Contracts
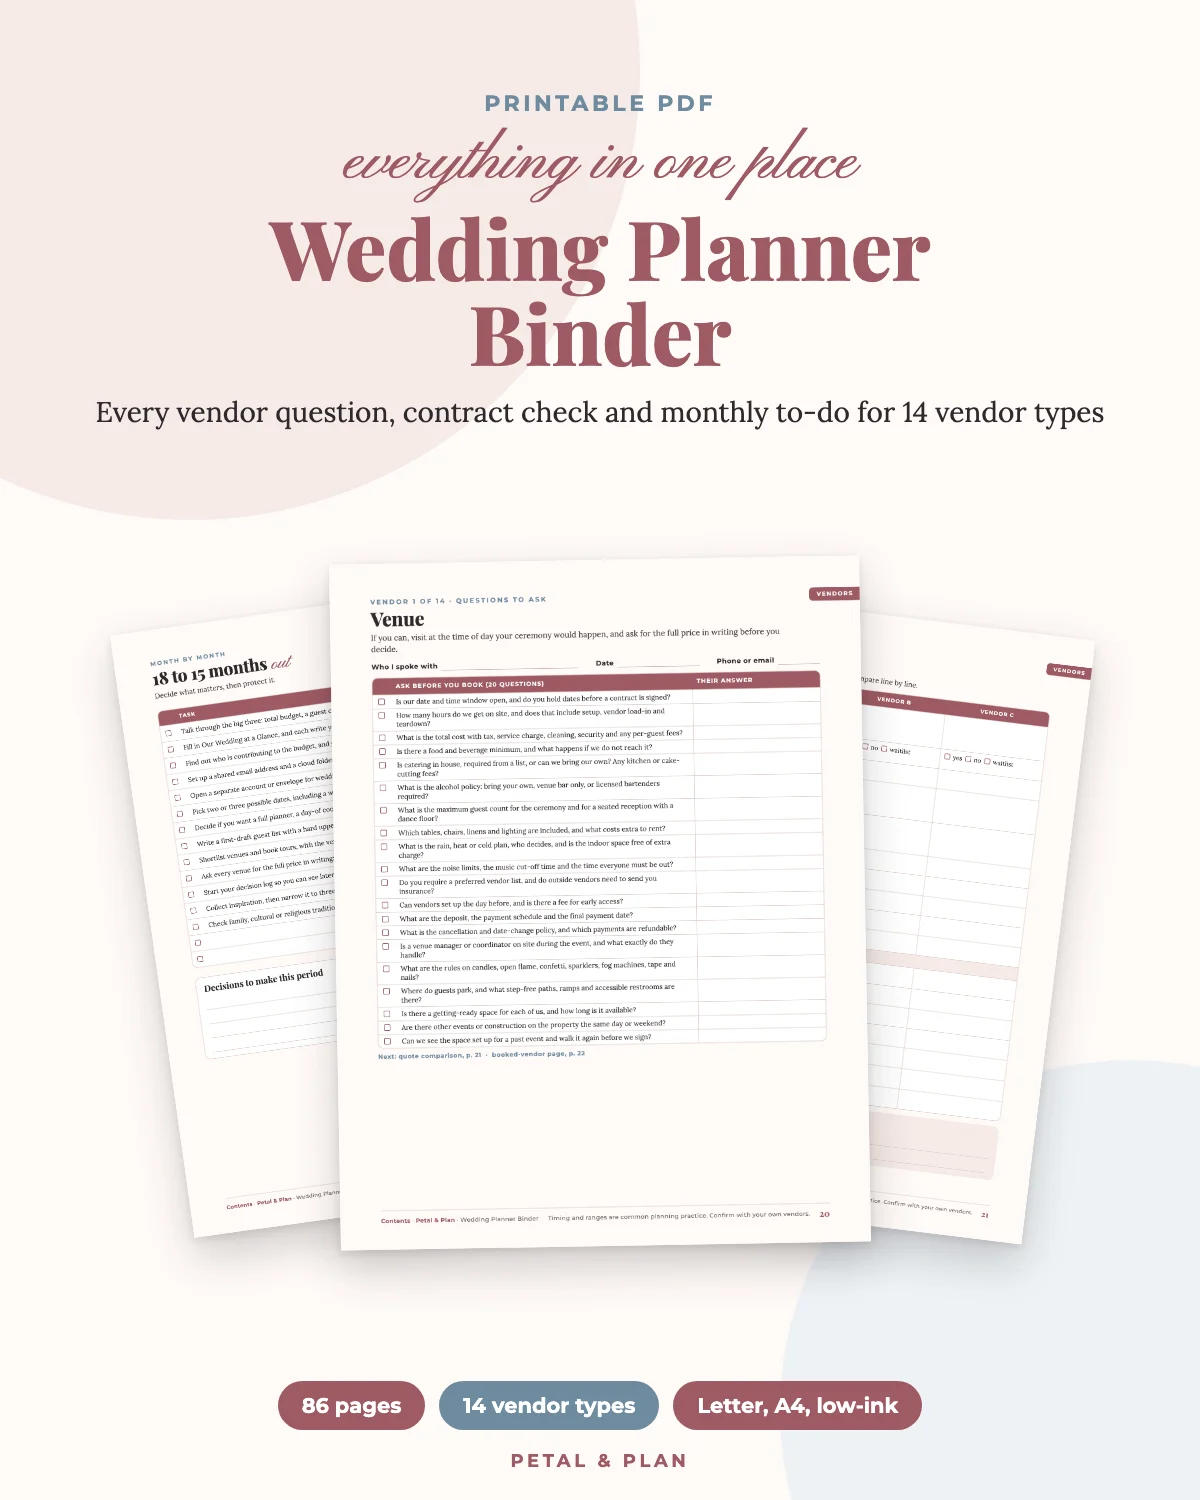
Make one sheet per vendor with name, contact, package, price, deposit paid, balance due and what is included. Slide the signed contract into a sheet protector behind it. Order the vendors by when they are due to be paid, not alphabetically.
What to put on each vendor sheet
Section 4: Guest List and RSVPs
Print your guest list by household and add columns for address, invited, RSVP, meal choice and thank-you sent. Our guest list by household template shows the columns. Keep a spare blank copy for the final headcount call.
Section 5: Timeline
This tab has two pages: the planning timeline (what is due by month) and the wedding-day timeline (who does what by the hour). Give the day-of timeline to every vendor and member of the wedding party.
Section 6: Inspiration and Style
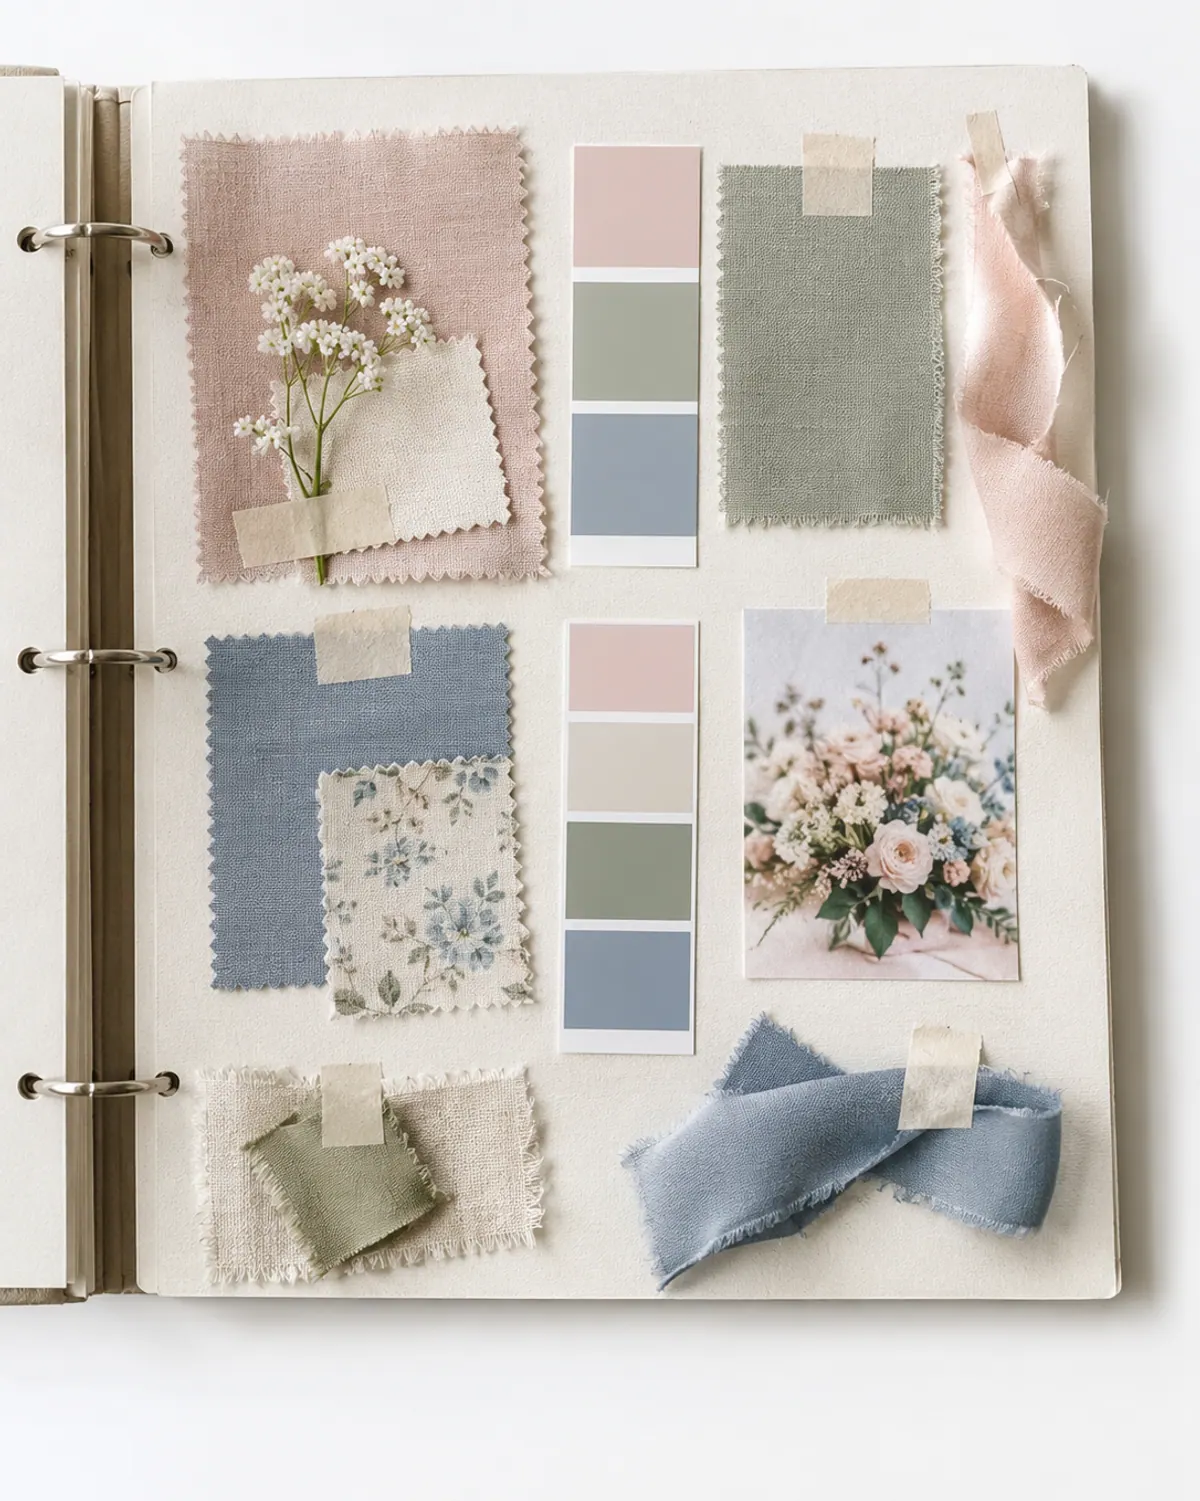
Make one page with your palette, flowers, fabrics and a few images, so everyone you talk to sees the same wedding. A swatch page also stops you buying a fifth shade of blue.
Section 7: Decor and Rentals
List every item you are buying, borrowing or renting: tables, linens, centerpieces, signs and lighting. Add who is bringing it, who is taking it home, and the return date. Rentals returned late are the cheapest mistake to avoid.
Section 8: Ceremony and Reception
Put the ceremony order, readings, vows, music cues and the reception schedule here. Print the seating chart on its own page, plus a table list with names. If you are making one, follow our guide to make a wedding seating chart.
Section 9: Day-Of Details
This is the page a parent or friend can pick up and run the day from. Include vendor phone numbers, arrival times, the venue address, the parking plan and an emergency contact who is not the couple.
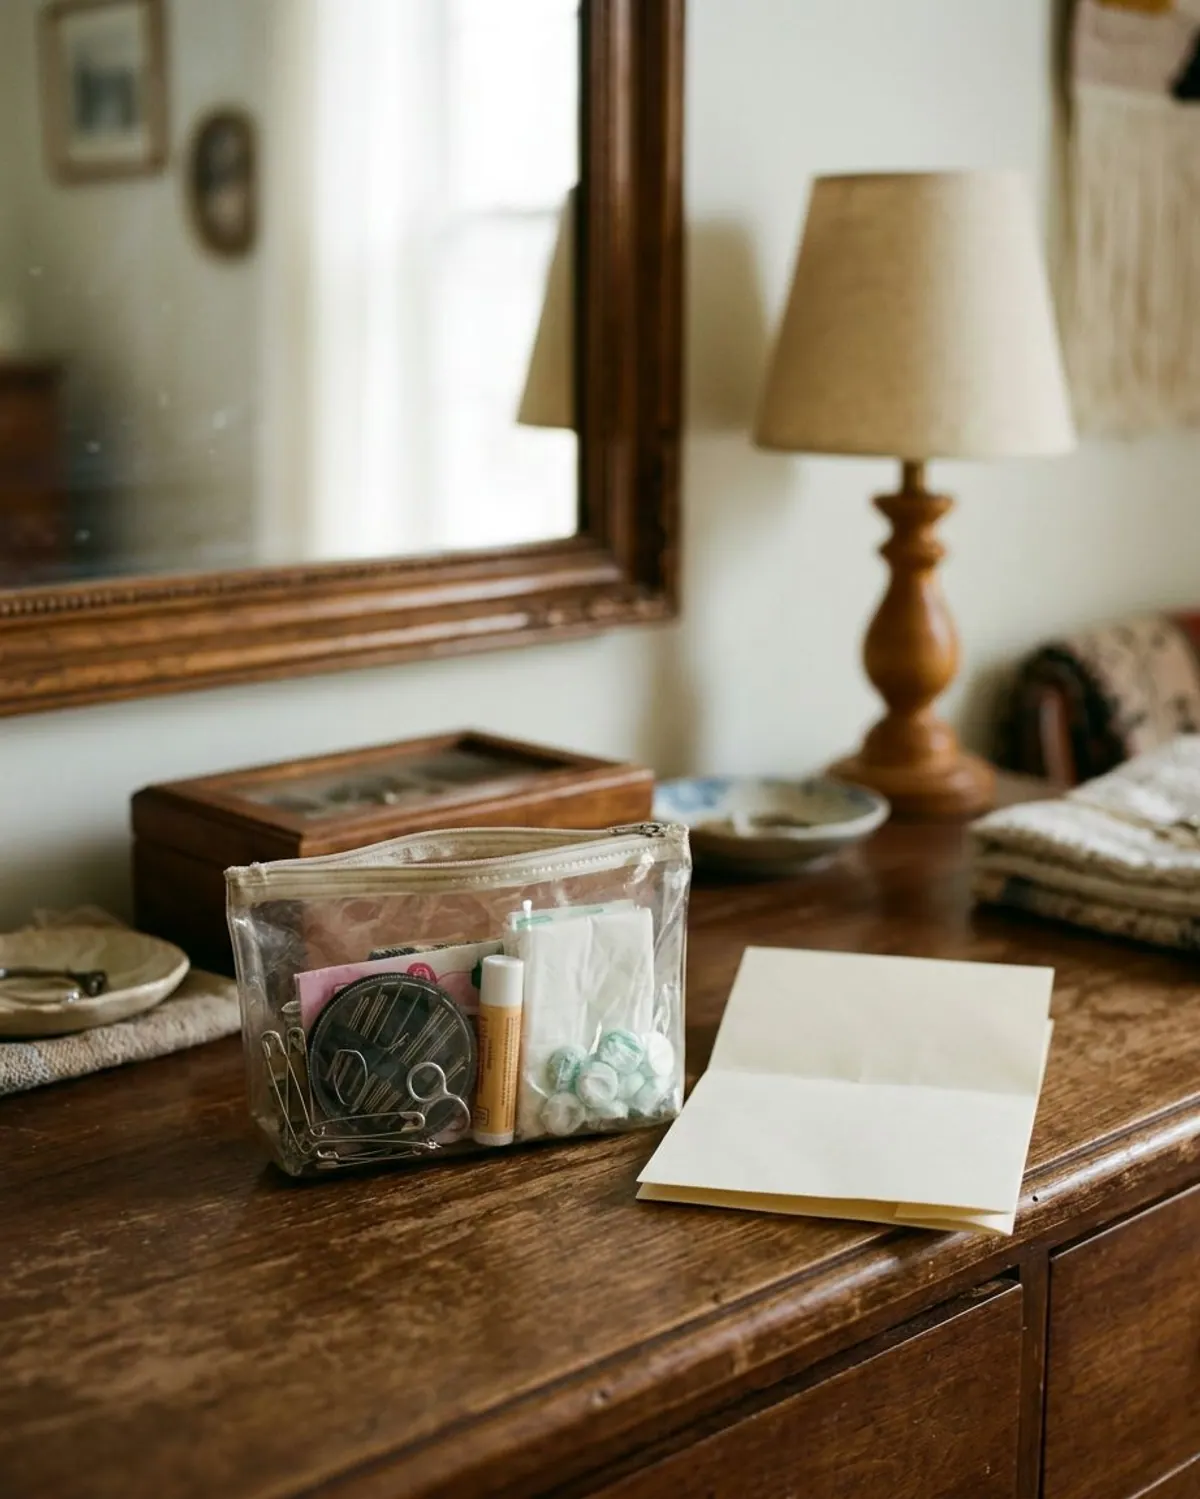
Pack in the day-of pouch
Section 10: Pocket for Everything Else
The last tab is a pocket folder for loose paper: business cards, receipts, thank-you note addresses, marriage license details and notes from calls. Empty it into the right section once a week.
How to Set It Up in One Weekend
-
Step 1: Saturday morning: buy and label
Buy the supplies, then write the 10 tab names. Put them in the order you will use them.
-
Step 2: Saturday afternoon: print the core pages
Print the checklist, budget, guest list and timeline. Punch holes and file them behind the right tabs.
-
Step 3: Sunday morning: file the paper you have
Slide every contract, quote and receipt you already have into its section.
-
Step 4: Sunday afternoon: fill the gaps
List every vendor you still need on its own sheet, with a due date for the booking.
-
Step 5: Every week after: ten minutes
Open the binder, move loose paper to its section, tick off tasks and check next month's deadlines.
Five Binder Mistakes to Avoid
What trips couples up
Fix the first one early. If you have to choose between neat and current, choose current. A messy binder you update beats a beautiful one you stopped opening.
Free Printable vs a Ready-Made Planner
You can build every page yourself with free printables. The tradeoff is time: the pages need matching columns, consistent layouts and a place for every number. Our Wedding Planning Core Trio bundles three finished planners (budget and payments, guest list and seating, and day-of timeline), each with a guide and printable pages for the binder tabs, so the numbers already add up.
Frequently asked questions
What sections should a wedding planner binder have?
The 10 most useful are a master checklist, budget and payments, vendors and contracts, guest list, timeline, inspiration, decor and rentals, ceremony and reception, day-of details and a pocket for everything else.
What do I need to make a DIY wedding planner binder?
A 1.5 to 2 inch three-ring binder, 10 to 12 tab dividers, sheet protectors and two or three pocket folders. A zip pouch for the day-of items is helpful.
How big should a wedding binder be?
One and a half to two inches is enough for most weddings. A larger binder gets heavy, and you will carry it to vendor meetings.
Should I keep contracts in the binder or online?
Both. Keep signed paper copies in sheet protectors and a scanned copy in a cloud folder. The paper copy is for the days you are away from a screen.
When should I start a wedding planner binder?
Start as soon as you book your first vendor, or earlier. It takes a weekend to set up, and the early weeks of planning generate the most paper.
Save it for later
Pin this to your Planning Checklists board so it's there when you need it.
Save to Pinterest